Quick start
How to install and use Cookie Consent for Umbraco
Section titled “How to install and use Cookie Consent for Umbraco”Flowcourier Cookie Consent is a free, open-source (MIT) GDPR cookie consent package for Umbraco with Google Consent Mode v2 support. Everything is configured in the Umbraco backoffice — no external consent service, no license file needed.
-
Install the extension
The extension is available via NuGet. Visit Flowcourier Cookie Consent on NuGet, search for the package in Visual Studio, or run:
Terminal window dotnet add package Flowcourier.Umbraco.CookieConsentDatabase tables are created automatically on first startup — no manual migration steps.
-
Open the Cookie Consent settings in the backoffice
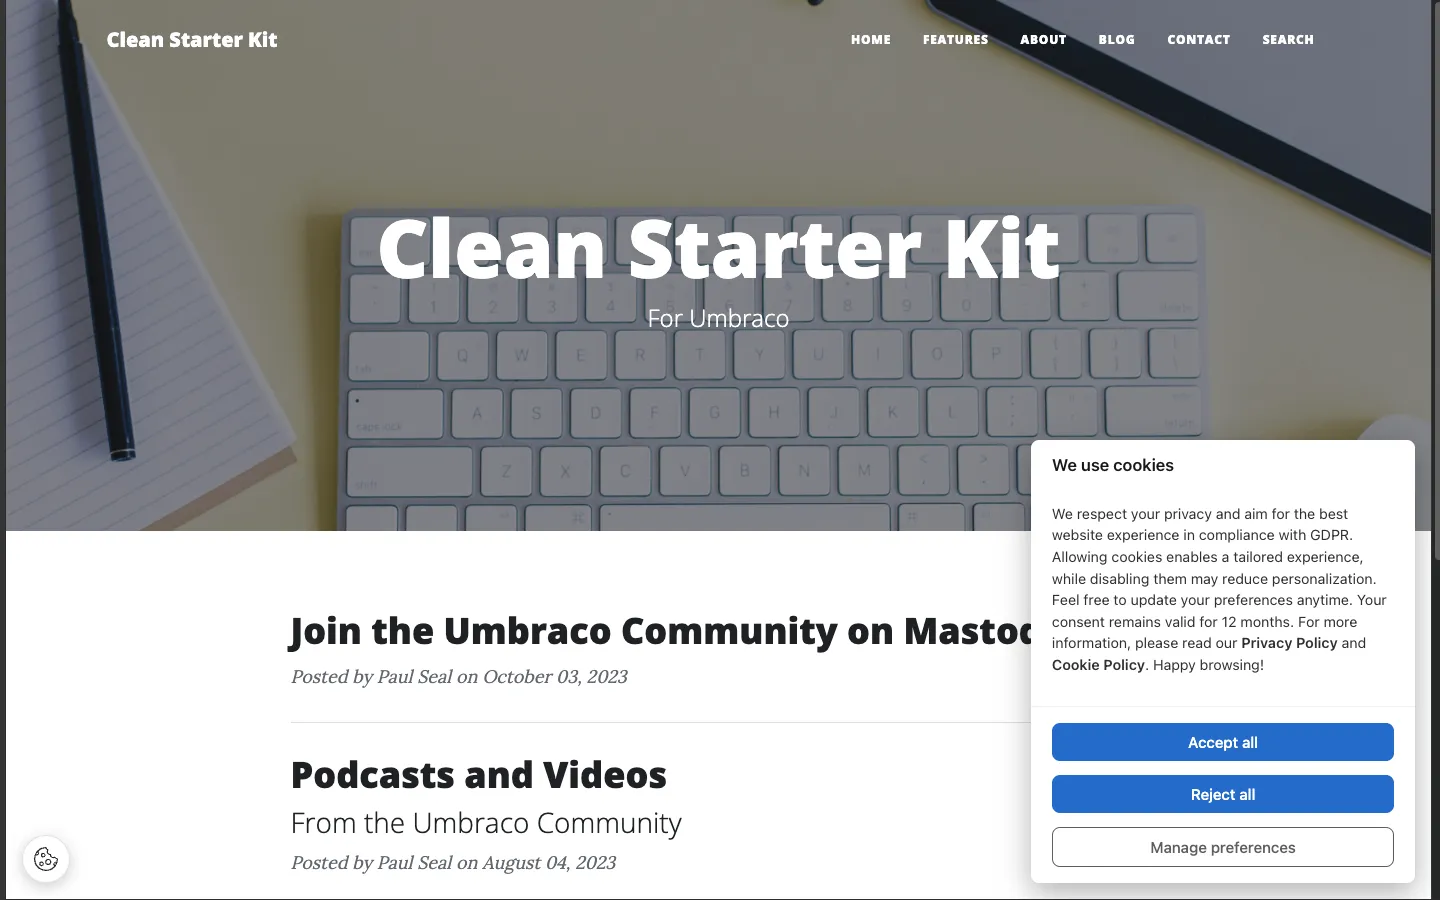
Start the site and go to Settings → Cookie Consent in the Umbraco backoffice. With the default Auto integration mode, the consent banner is already injected on every frontend page. Nothing needs to be added to your templates.
-
Review the cookie categories
Four categories are pre-configured: Necessary (always on, read-only), Analytics, Marketing and Preferences. Enable the categories your site actually uses — see Cookie categories for guidance on what belongs where.
-
Add your scripts
Replace the example scripts under Settings → Cookie Consent → Scripts with your real tracking snippets (GA4, Meta Pixel, LinkedIn Insight Tag, …). Each script is assigned to a category and is only executed after the visitor consents to that category. See Common scripts for ready-to-use examples.
That’s it. Visit your site in a private browser window and the banner appears. Accept or reject categories and verify in the browser console that gated scripts only run after consent.
Optional next steps
Section titled “Optional next steps”- Enable Google Consent Mode v2 if you use Google Analytics or Google Ads.
- Match the banner to your brand under Settings → Appearance — layout, position, colors and border radius.
- Translate banner texts via the Umbraco Dictionary — see Translations.
- Check accept/reject rates in the Statistics dashboard.